Creality Falcon T1 review: Modular laser engraving
Tom's Hardware Verdict
The Creality Falcon T1 is a fast, flexible, and generally impressive galvo laser engraver, but with only three of the five advertised laser modules available at launch, it's a risky purchase for prosumers.
Pros
- Lightning-fast galvo laser engraving speeds
- Integrated camera and automatic calibration
- Highly customizable between lasers and accessories
- Fast setup time
Cons
- MOPA / UV laser modules lack firm retail availability dates
- Rotary engraver had issues during testing
- Doesn't include safety goggles
- Expensive
Overview
The Creality Falcon T1 is a galvanometer laser engraver that can swap between different laser modules for specific applications. With diode and fiber lasers for general engraving, a UV laser for creating 3D shapes in crystal, and a MOPA laser for adding color, the Falcon T1 is well-equipped on paper for most engraving tasks.
The 175 x 175 mm engraving area and optional conveyor belt allow users to engrave small objects one at a time or in a large batch, and the optional rotary attachment can be used for tumblers, rings, and other cylindrical objects.
The Falcon T1 is at the higher end of Creality's Falcon line of laser engravers, with the base model equipped with the 20W diode laser listed at $2,249 and the additional modules ranging between $989 and $3,059 each. As of the writing of this review, buying the Falcon T1 with the 20W diode laser module and adding all the additional modules would add up to $9,895 without any accessories such as the air filter, conveyor belt, or rotary attachment.
Creality shipped the Falcon T1 with three laser modules for testing: the 40W diode, the 20W fiber, and the 5W UV. The MOPA laser was not available, and I wasn't able to use it during testing. Creality indicated the UV module will have a retail launch in late July or early August, with the MOPA laser launching approximately one month after the UV module. This staggered rollout makes the Falcon T1 a risky day-one purchase if either the UV or MOPA module is critical to your workflow.
The Falcon T1 has clear potential, but the overall experience I had during testing was that of a beta tester. I ran into software issues, waited for parts to be delivered, and even had to schedule a 10 PM video call with Creality's China-based support team due to the lack of US-based technical support. This level of support may be acceptable on a lower-cost hobby machine, but it's harder to overlook considering a fully loaded Falcon T1 can cost over five figures.
Specifications
| Machine Footprint | 18.27 x 12.28 x 19.80 inches (464mm x 312mm x 503mm) |
|---|---|
| Engraving Size | 6.89 x 6.89 inches (175mm x 175mm) |
| Laser Type | Diode / Diode / Fiber / UV / MOPA |
| Laser Power | 20W / 40W / 20W / 5W / 60W |
| Laser Spot Size | 0.12 mm x 0.14 mm / 0.14 mm x 0.18 mm / 0.05 mm / 0.014 mm / 0.05 mm |
| Laser Wavelength | 445 nm +/- 15 nm / 445 nm +/- 15 nm / 1064 nm +/- 5 nm / 355 nm +/- 2 nm / 1064 nm +/- 5 nm |
| Positioning Accuracy | +/- 0.01 mm |
| Max Working Speed | 10000 mm/s |
| Enclosure | Integrated |
| Cutting Platform | Removable |
| Air Filter | Optional |
| Connectivity | USB-C, Wi-Fi |
| Release Date | May 29, 2026 |
| MSRP | $2,499 / $2,999 / $2,699 / not yet available / $4,999 |
Included in the Box
The Creality Falcon T1 includes more accessories than can fit in a single picture, including calibration boards, USB adapters, a brush, locking fixtures for the laser table, and much more. In addition to the included accessories, Creality also sent over the optional conveyor belt and rotary attachment kits, both application-specific extras that enhance the functionality of the machine.
The packaging is what you would expect from a laser that retails at $2,249, with foam blocks and hook-and-loop straps securing the laser during shipping. Aside from sliding in the laser module (more on that later), there is virtually no assembly required other than plugging in the display and power supply. The Falcon T1 is ready to go right out of the box and doesn't require advanced calibration or a lengthy setup.
Design
The Creality Falcon T1 is a more refined product that stands out in the otherwise generally hobbyist-focused line of Creality Falcon laser engravers. The translucent black cover looks like something you'd find on a piece of lab equipment, and the handle on the front makes it easy to lift without touching the glossy surface. The tall aspect ratio of the Falcon T1 is also a departure from the otherwise flat laser engravers you'd typically see from Creality, and the square 175 x 175 mm engraving area is also an indication that this isn't a typical diode laser cutter.
Creality heavily promotes the Falcon T1's "5-in-1" functionality, which refers to the swappable modules that can be inserted and removed to change the type of laser. These include:
- 20W blue diode laser
- 40W blue diode laser
- 20W fiber laser
- 5W UV laser
- 60W MOPA (Master Oscillator Power Amplifier) laser
These all have specific applications and are designed to be easily swapped by the end user.
There is an emergency stop (E-stop) button on the side of the Falcon T1 as well as an arcade-style button which is used to fully extend the laser tower to replace modules. I tested the E-stop and found that it immediately cut power to the unit and required a manual reset to turn back on. Above the E-stop is the LCD screen, which offers basic controls, history, and network information. Additional ports for power, rotary and conveyor accessories, and the exhaust vent are all on the back of the unit.
The design of the screen feels like an afterthought: the cable comes out from the left side of the unit which makes it awkward to hold with one hand and it's sideways when mounted to the magnetic standoff on the engraver. Having the interface be vertical or putting the cord on the top of the unit would solve this, but with the current setup I found myself accidentally pressing buttons when I went to grab the LCD. After connecting to Wi-Fi, I used my laptop to start and monitor builds so the LCD didn't see much use.
The Falcon T1 has an engraving area of 175 x 175 mm, which is in line with other galvo lasers like the WeCreat Lumos and the xTool F2 Ultra but smaller than most gantry-driven lasers. The engraving area has threaded inserts that allow workholding fixtures to be screwed in, something that's critical when making very fine engravings where the object must be held still.
The exhaust fan sits in the rear of the unit and did a good job during testing of pulling smoke and odor through the fan and into the air purifier unit. The Falcon T1 is capable of focusing the laser automatically with no manual calibration required, a useful addition that when combined with the integrated camera means setting up a build can be as simple as only a few clicks. The automatic calibration only takes a few seconds, and the workspace in the Falcon Design Space software will display material inside the machine to assist with laying out builds.
Unlike a gantry-driven laser like the WeCreat Vision Pro, the galvanometer system of the Falcon T1 means the laser beam always originates from the top center of the chamber, and as a result it creates angled cuts due to the conical shape of the laser work area. This means that cuts become progressively more angled as you move further away from the center of the chamber, something to consider if making an assembly or a design that has any interlocking parts.
Safety Features
Like all lasers, the Creality Falcon T1 can be dangerous if misused or left unattended. Flammable material can ignite during cutting, and engraving produces dust and smoke that can quickly fill a room.
When operated with the lid closed the Falcon T1 is a Class 1 laser, which means the user is shielded from the laser during operation. There is a large E-stop on the side of the Falcon T1 which will immediately deactivate the unit when pressed, an important addition for any high-powered laser. Opening the lid during operation will throw an error, and the interlock will immediately stop the laser and display a warning in the Falcon Design Space.
Using the conveyor belt or rotary engraver requires disabling the lid interlock, something that users should take very seriously. The risks of using an unshielded laser are much higher than when the lid is closed, so goggles and ventilation should be used when the lid is opened.
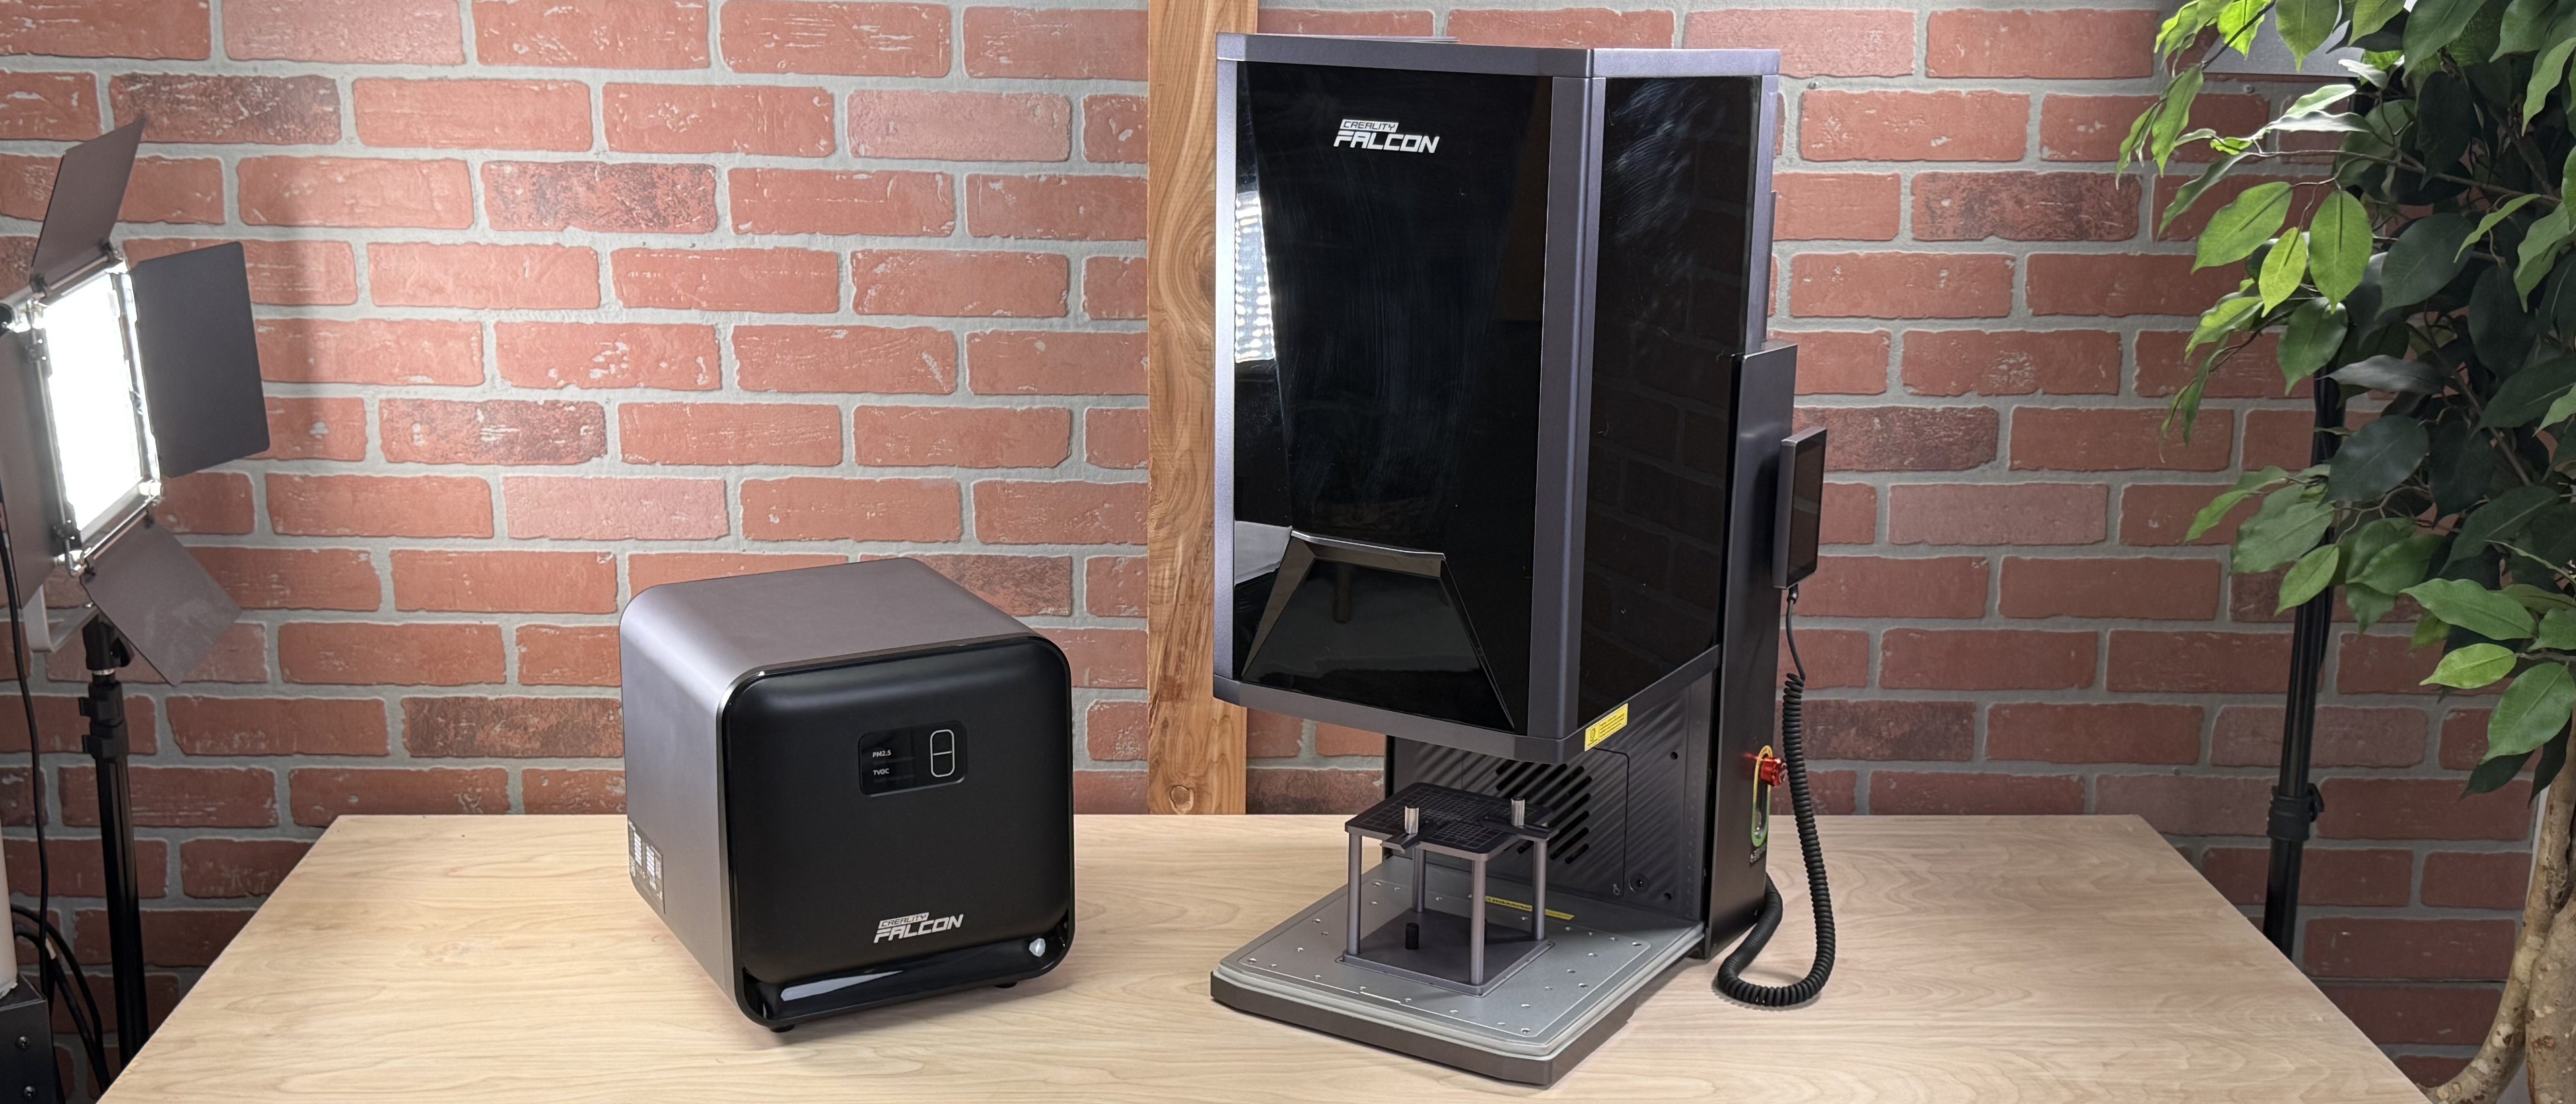
Smoke Purifier
The Creality Falcon AP1 Mini is a small desktop air purifier that is a good match for the Creality Falcon T1, and the 174 m³/h airflow is more than enough to pull smoke and dust from the unit during operation. Other air purifiers like the WeCreat Fume Extractor offer much higher airflow volume for laser cutters like the WeCreat Vista and WeCreat Vision, which are designed to cut through thick sheets of material and generate lots of smoke.
The Falcon AP1 Mini is a good match for the Falcon T1, and I didn't notice any smoke leaking from the enclosure during engraving jobs. If you're planning on using the Falcon T1 primarily for engraving on metal, wood, and doing some 3D engraving, the AP1 Mini will be a great fit. If you are more interested in using the Falcon T1 for cutting through plywood, acrylic, or other material, you may want to consider a unit that provides more airflow.
Software
Creality offers the first-party Falcon Design Space software for the Falcon T1 as well as advertising compatibility with LightBurn, another popular laser engraver software. Falcon Design Space offers control over the laser speed and power while also giving users editing tools for vector graphics. I've had good experiences with Falcon Design Space in the past and the current version of the software (v1.9.3) keeps all the good stuff while also adding in a new set of generative AI-enabled tools.
Between the modular laser attachments and the additional accessories, the Falcon T1 offers a total of eight different modes for processing a build. Without any accessories attached, the standard three modes are:
- Flat surface engraving (a typical laser engraver experience)
- 3D relief (designed for deeper cuts on material)
- Color engraving for the MOPA laser
Each mode offers a slightly different experience in the software, and the included video tutorials are well-made and easy to follow.
The software includes a mix of functional tools and creative ones, with the ability to generate 3D depth maps, pictures from generative AI prompts and filters, and general editing tools. Like with many generative AI tools, the output from these tools can vary wildly from surprisingly good to shockingly bad, and the overall experience will heavily depend on the user, inputs, and level of post-processing.
I was impressed with the "3D Cutting" tool, which is similar to the Autodesk Slicer software that converts a 3D model into a series of parts for assembly, like a Benchy made of plywood. Falcon Design Space also allows users to search through a repository of models and import them directly into the canvas, making it easy to find templates or starter projects for beginners. This is a fun way for new users to see what's possible with a laser engraver, and the ability to modify or customize them lowers the barrier to entry.
One of my favorite functional tools in Falcon Design Space is the Material Test Array, which allows users to quickly create a matrix that shows the impact of adjusting the speed and power of a laser and how they influence the quality and properties of the engraved material. Using the 40W diode laser and the recommended settings, I engraved a sheet of basswood plywood and was able to easily see the impact of adjusting the parameters as well as selecting a configuration that worked for me.
Engraving / Cutting
The 40W diode laser module was the most approachable for me to use as an initial test, so I loaded it in and set up a simple engraving / cutting job. Using the Benchy T-Shirt design by InfernoMoon, I used the 40W diode laser to engrave the design on some 3mm basswood plywood and also cut it out of the sheet.
Adding layers in Falcon Design Space is simple and intuitive, so it was easy to set up the job so the engraving would be done before cutting the part out of the material. At 800 mm/s, the coaster build was completed in just 1 minute and 44 seconds. Seeing the rapid movement of the galvo laser on the engraving is impressive, and compared to gantry-based lasers like Creality Falcon A1 Pro it's no contest when it comes to speed.
Based on the results of my initial material test array, I wound up making two versions.
Comments
No comments yet. Start the discussion.